
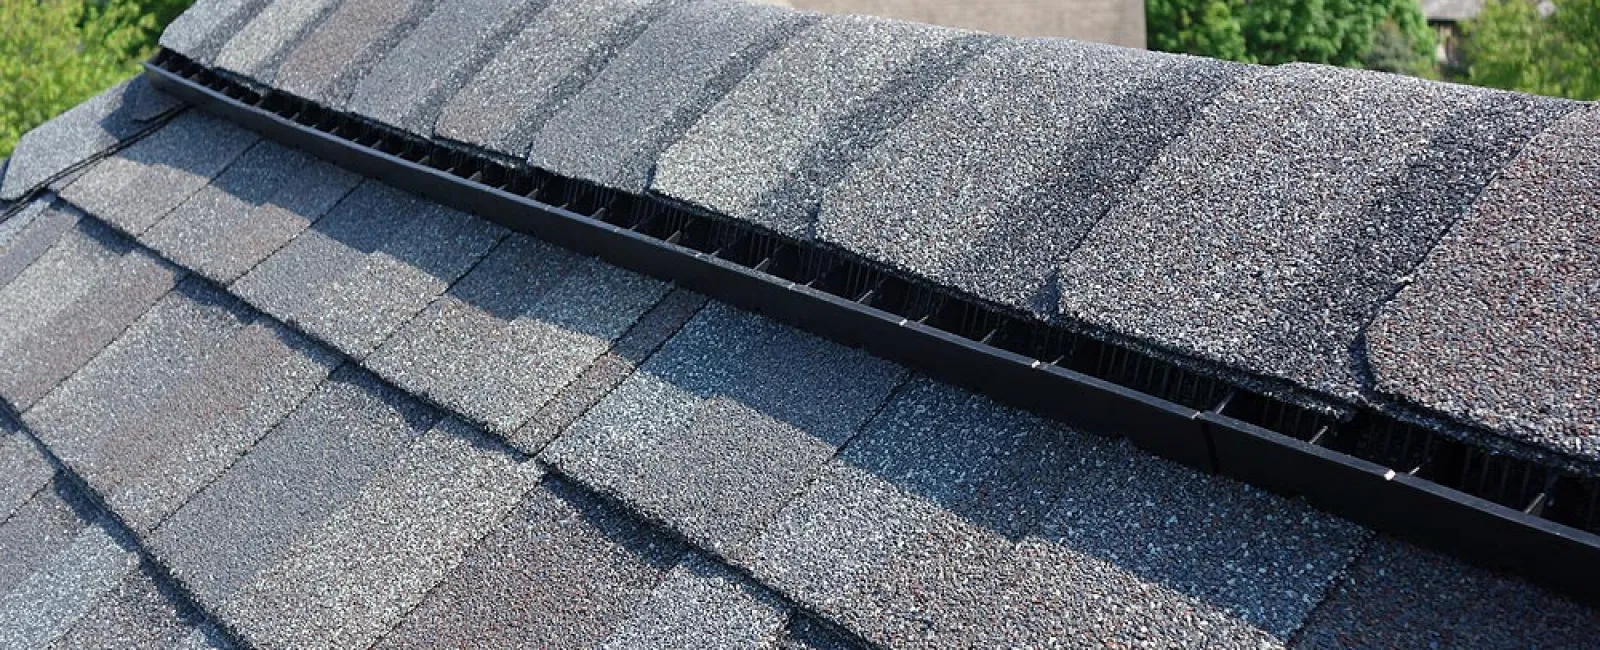
Ask most homeowners what their roof is made of, and they'll say shingles. That's not wrong — but it's incomplete. Shingles cover the field, but the most vulnerable spots on any roof aren't the flat open sections. They're the transitions: where the roof meets a chimney, a wall, a valley, a vent pipe, or an edge. Those are exactly where water finds a way in.
That's where roof flashing comes in — and it's why failed flashing is one of the most common causes of roof leaks in residential homes, including right here in Georgia, where storm seasons put every weak point to the test.
What Is Roof Flashing?
Roof flashing is a thin, formed sheet metal — typically aluminum, galvanized steel, or copper — installed at every point where a roofing surface meets another surface or structure. Its job is simple: redirect water away from joints and transitions that shingles alone can't seal.
Think about the geometry of a roof. Shingles overlap in a consistent pattern across flat planes, and that overlap sheds water effectively. But when that plane meets a vertical wall, a chimney, a skylight, or a valley where two slopes converge, you have a joint that water will constantly probe. Flashing bridges those joints, creating a waterproof transition that directs runoff back onto the shingle field and into the gutters.
Without proper roof flashing installation, water infiltrates those transitions every rain cycle. It might happen slowly — a little seepage that saturates wood sheathing over months before you notice anything inside. Or in a hard Georgia downpour, it can happen fast. Either way, flashing failure and roof leaks are directly connected.
Types of Roof Flashing and Where Each One Goes
Understanding the different roof flashing types helps you know what your contractor is talking about — and what to look for when you're doing a visual check from the ground or during a professional inspection.
Step Flashing Roof step flashing is used where a sloped roof surface meets a vertical wall — the side of a dormer, an attached addition, or where the roof runs alongside a second-story exterior wall. It's installed in individual rectangular pieces, interwoven with each course of shingles so water is always directed onto the shingle below. When it's done right, it's nearly invisible. When it's missing or improperly installed, that wall-roof junction becomes a reliable leak point.
Chimney Flashing Chimney roof flashing is a layered system — typically base flashing at the bottom, step flashing up the sides, and counter flashing (cap flashing) embedded into the mortar joints of the chimney itself. The two layers work together: base and step flashing move with the roof; counter flashing is anchored to the chimney. This is intentional — roofs and chimneys expand and contract independently, and flashing that can't accommodate that movement will crack and pull away. Chimney flashing failure is one of the most common sources of interior water damage that homeowners mistakenly attribute to the chimney itself.
Valley Flashing Roof valley flashing sits in the V-shaped channel where two roof slopes meet. Valleys collect significant water volume — they're the low points that drain the surrounding roof planes. Some installations use open metal valley flashing (an exposed strip of metal down the center of the valley); others use closed or woven shingle valleys. In either case, the valley needs proper flashing material underneath to handle the water load. An improperly flashed valley is one of the fastest ways to develop a serious leak.
Drip Edge Flashing Roof drip edge flashing runs along the eaves and rakes — the edges of the roof. Its job is to guide water off the roof edge cleanly, away from the fascia and soffit, and into the gutters. Without a proper drip edge, water wicks back under the shingles at the edge through capillary action, leading to fascia rot and soffit damage over time. It's a simple detail, but it's one that's frequently skipped on budget installations.
Vent Pipe Flashing Roof vent flashing (also called roof pipe flashing or pipe boot flashing) seals around the plumbing vent stacks that penetrate the roof surface. These are typically rubber-booted metal collars that slide over the pipe and are nailed and sealed to the deck. Rubber boots degrade with UV exposure — in Georgia's sun, they can crack within 10-15 years, turning a sealed penetration into an open water entry point. This is one of the most overlooked maintenance items on a residential roof.
Roof-to-Wall Flashing Roof-to-wall flashing is used where a lower roof section meets a taller exterior wall above it — common on dormers, bump-outs, and homes with multiple roof levels. Similar in principle to step flashing but often involving continuous runs rather than individual pieces, this transition needs to be tight and properly overlapped to handle the water that runs down the wall above it.
Skylight Flashing Skylights are one of the more complex flashing details on a residential roof because they involve four sides of transition, all at different angles to the water flow. Most modern skylights come with integrated flashing kits from the manufacturer. Field-fabricated flashing around a skylight, or the reuse of old flashing during a re-roof, is a leading cause of skylight leaks.
What Roof Flashing Is Made Of
The most common metal roof flashing materials used in residential roofing are:
Aluminum — Lightweight, corrosion-resistant, easy to form and cut. Standard for most residential applications. Shouldn't be used in direct contact with concrete or masonry without a protective coating, as the alkalinity causes corrosion over time.
Galvanized Steel — Steel with a zinc coating for corrosion resistance. Heavier and more durable than aluminum, often used in valley flashing and drip edge applications. Can rust at cut edges over time if the zinc coating is compromised.
Copper — The premium option. Extremely durable, develops a patina rather than rusting, and lasts 50+ years when properly installed. Common in high-end homes and historic properties. More expensive and requires lead or copper solder work at joints.
Lead — Still used in some chimney and step flashing applications, particularly in older or historic construction. Exceptionally malleable and long-lasting, but less common in new residential work.
For most Georgia homes, aluminum or galvanized steel are the standard choices — both perform well in the regional climate when properly installed.
Signs Your Roof Flashing Is Failing
Flashing failure doesn't always announce itself dramatically. Here's what to watch for:
Water stains on interior ceilings or walls near chimneys, skylights, or dormers. These are the most direct signals. The stain often appears some distance from the actual entry point because water travels along rafters and sheathing before dripping down.
Visible rust, cracking, or lifting at transitions. From the ground or during a roof inspection, look for metal that's pulling away from surfaces, rust streaking down from flashing edges, or sections that are visibly bent out of position.
Missing flashing. More common than it should be, especially after re-roofs done by contractors who skip proper step flashing installation or fail to replace deteriorated pipe boots.
Deteriorated or cracked roof flashing sealant. Many flashing installations rely on roofing sealant at terminations and overlaps. That sealant has a lifespan of 5-10 years and needs periodic reapplication. Caulk-only repairs without proper metal flashing underneath are a temporary fix, not a solution.
Granules are accumulating around the pipe boots. This often indicates the rubber boot is deteriorating. If the collar is cracking, it's letting water in.
Flashing and the Re-Roofing Decision
One of the most important — and most overlooked — questions when replacing a roof is whether the existing flashing is being replaced or reused. Many contractors, particularly lower-bid operations, will reuse old flashing to cut time and material expense. This is a false economy.
Flashing that's 15-20 years old, even if it looks intact visually, is at the end of its reliable service life. Installing new shingles over old flashing means the weakest point in your new roof system is the same age as your old one. At EXO Roofing, our re-roofing process includes a full flashing assessment — we replace what needs replacing rather than covering it up and hoping it holds.
Why Roof Flashing Installation Requires a Professional
Flashing work is detail work. Each type of flashing has specific overlap dimensions, fastening requirements, and sequencing relative to the shingles around it. Step flashing has to be interwoven correctly with each shingle course. Chimney counter flashing has to be properly embedded in mortar joints. Valley flashing has to be sized correctly and seated flat.
These aren't tasks that tolerate improvisation. Improperly installed flashing can fail immediately or degrade faster than correctly installed material — and the damage it causes accumulates silently before you see any sign of it inside your home.
The Bottom Line
Flashing is the detail work of roofing — not glamorous, not visible from the street, but responsible for sealing every vulnerable transition on your roof. It's also one of the most common failure points, particularly on roofs that are aging or that were installed without adequate attention to these details in the first place.
If your roof is approaching 10-15 years, or if you're seeing interior water stains near a chimney, skylight, or exterior wall, a flashing inspection should be part of your next roof evaluation.
EXO Roofing inspects and replaces roof flashing throughout Georgia as part of every roof assessment. We check what's there, tell you what needs attention, and back our work with a warranty.


